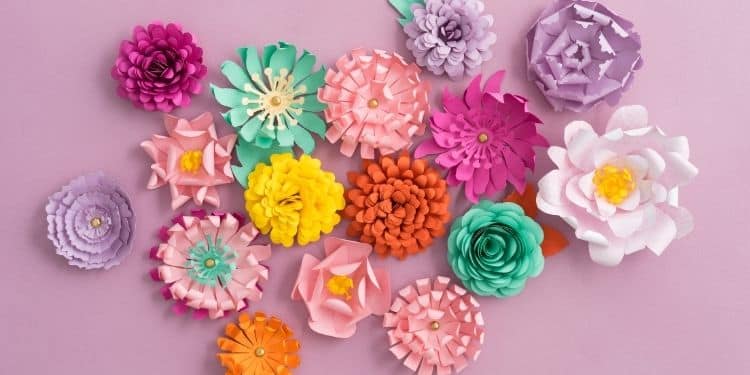
Hello there, fellow crafters! Today, we’re embarking on a delightful journey of creating paper flowers using our handy Cricut machine. This artistic endeavor will transform a simple cardstock into a lively floral wonder. So, let’s not delay any further and start the petal magic!
Picking Your Pattern
Every masterpiece starts with a vision. For our paper flowers, that vision is the pattern. Choose a design that resonates with you, or better yet, create one! Don’t fret if you’re a beginner, our design software is here to guide you. You can easily upload an image or design one from scratch.
Setting Up the Cricut Machine
With the design in place, let’s roll up our sleeves and set up the Cricut machine. A clean cutting mat and your chosen cardstock are all you need. If your flower involves multiple layers or a mirror image, adjust your settings accordingly.
Cutting and Scoring the Design
Before cutting, adjust your Cricut to the cardstock setting to get a clean cut. Use the scoring stylus to make scoring lines in your design. This step is crucial for making the petals easier to fold later. After this, sit back and let the Cricut machine perform its magic.
Weeding the Design
Post-cutting, it’s time for some careful weeding. With the help of your weeding tool, remove any excess material. Be gentle to maintain the shape of your delicate petals, stem, and leaves.
Assembling Your Floral Masterpiece
Here comes the exciting part, assembly! Start by folding your petals along the scoring lines. This will give your flowers a lifelike appearance. Attach these folded petals around your centerpiece using a glue gun or another adhesive. For the stem, attach your leaves to the floral wire and then join your beautiful bloom to the stem using floral tape.
Giving Your Flower a Personal Touch
Now that your flower has taken shape, it’s time to add personality. You can adorn your creation with embellishments or other decorative elements. Some glitter, a ribbon, or even a bead can add that extra bit of pizzazz to your paper flower.
Concluding Thoughts
And voila! You’ve successfully created a beautiful paper flower with your Cricut machine. As the famous artist, Vincent Van Gogh once said, “Great things are done by a series of small things brought together.” And indeed, it’s the small cuts, folds, and glues that have brought together your great paper flower. Keep exploring, keep creating, and keep blooming with your craft!


 No products in the cart.